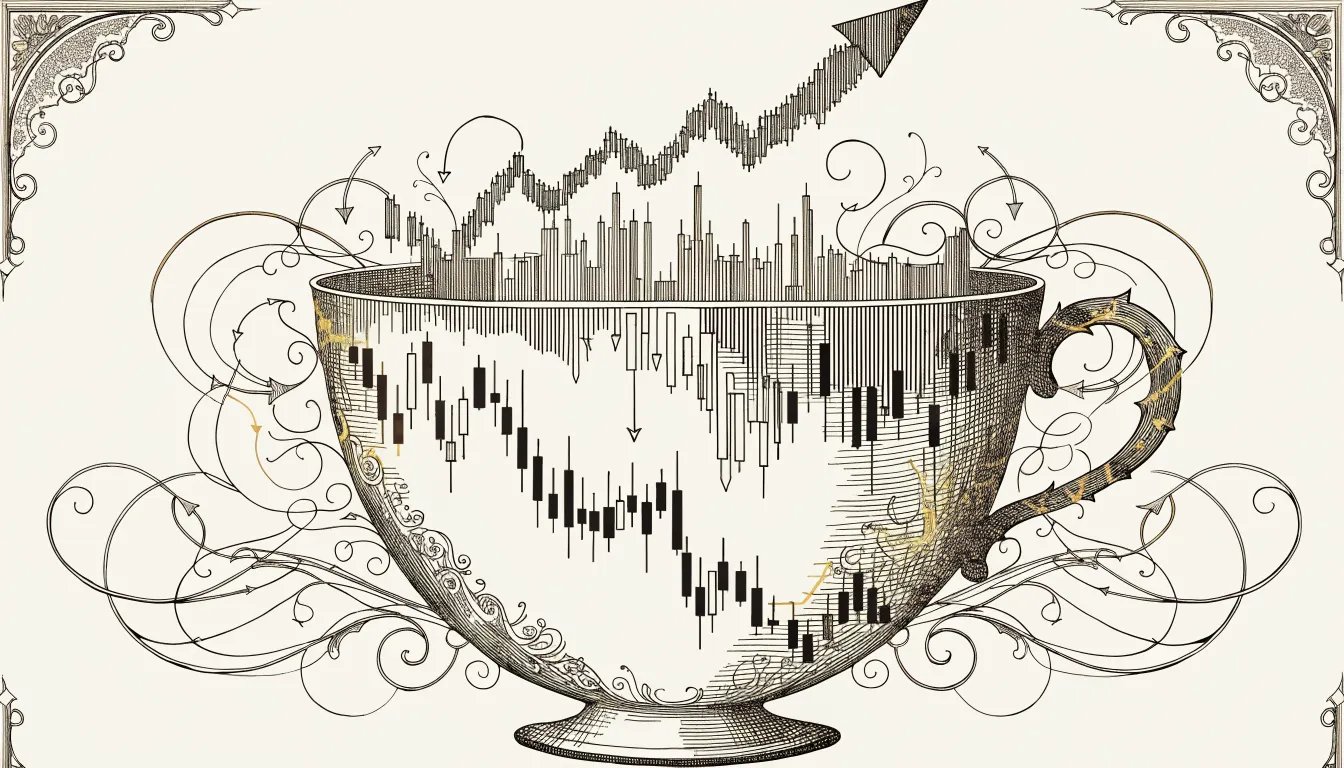
Anatomy of the W
Three pieces and a trigger. Get those four things straight and the rest is execution.
The first bottom is the low where the existing downtrend pauses. Price falls into a level, finds bids, and rallies. Most traders watching the tape at that moment assume it’s a dead-cat bounce inside a continuing downtrend. They’re usually right — until they aren’t.
The middle peak is where that first rally tops out. The high of the bounce is the neckline. That neckline is the trigger. Until price closes above it, you have nothing to act on. Mark the level. Leave the order book alone.
The second bottom is where price returns and tests the first low. The word “test” matters more than the word “match.” The second low does not need to print at the exact same price. Slightly higher is more bullish — tells you buyers stepped in early. Slightly lower is the classic shakeout, a flush below support that takes out the obvious stops before the stock reverses. What matters is the zone holds and price turns back up.
Confirmation arrives only when price closes above the neckline on strong volume. Before that close, you don’t have a double bottom. You have a chart that might become one. Big difference.
Volume Tells You Whether It’s Real
Volume separates a real W from a random squiggle. The sequence has a specific signature, and once you know what to look for the pattern either passes or it doesn’t.
At the first bottom, volume is usually heavy. That’s capitulation — the last batch of holders giving up and dumping shares into whatever bids are still there. Loud, ugly, often a wide-range red candle. The bounce off the low typically happens on lighter volume. Some short covering, some bottom fishers, nothing committed. Normal.
Now the part that pays. At the second bottom, volume should be lower than at the first. This is the whole game. Two lows. Same level. Less selling on the second. The sellers are running out of ammunition, and the same price level can’t squeeze any more supply out. If the second bottom prints on equal or higher volume than the first, the pattern is suspect — you’re probably watching a continuation that hasn’t found its true low yet.
The neckline breakout should arrive on volume at least 50% above the 30-day average. A breakout on light volume is a flag, not a green light. Quiet breakouts get faded all day at the desk. Loud breakouts have a much better chance of holding and following through.
Where to Buy, Where to Stop
Two reasonable entries. The first is the close above the neckline. Cleanest, highest probability, but you give up some price — you’re paying for confirmation. The second is the pullback to the neckline after it breaks, which often happens within a few sessions as the breakout retests the level it just cleared. Better entry price, slightly more risk that the retest fails and the pattern unwinds. I run both, depending on how clean the breakout candle looks.
The stop goes below the second bottom. Period. If price closes back below that low, the W is broken — the support that was supposed to hold didn’t, and you have no business being long. The distance from your entry to that stop is your unit of risk. Multiply your account by 0.01, divide by that distance, and you have your share count. That’s your max position. Don’t round up.
Measuring the Target
The double bottom gives a measurable target using the same method as the head and shoulders. Measure the vertical distance from the bottoms to the neckline. Add that distance to the neckline breakout point. That’s your projected move.
Example: bottoms at $20, neckline at $25, distance is $5. Project $5 above the breakout and you get $30 as the measured target. Hit rate on this projection runs roughly 65-70%, which is good enough to use as a reference, not good enough to treat as a guarantee. I trim half into the projected target and trail a stop on the rest. The runner pays for the times the projection falls short.
Real Tape: ARKK, Spring 2022 to Summer 2023
One I watched closely. ARKK printed a low near $35 in May 2022, rallied weakly to about $50 over the summer, sold off again into a low around $30 in December 2022, and put in a final flush near $30-32 in early 2023. The neckline in the $50 zone took until late spring 2023 to clear with conviction. By mid-2023 the ETF had run into the $50s and into the $60s as the broader speculative tape woke up.
Wider time frame, less precise levels, but the structure was textbook: two distinct lows with a lower-volume retest, a multi-month base, a neckline that took its sweet time to give way. The traders who tried to bottom-fish at the first low in May 2022 got carried out. The traders who waited for the close above $50 caught the meat of the move with a clean stop reference under the most recent low.
That’s the difference between guessing the bottom and trading the pattern. One is a hope. The other is a setup with rules.
One That Cost Me
I’ll tell on myself for a second. Late 2018, a mid-cap industrial I was watching had what looked like a double bottom forming in the $42-43 zone. First low in October on heavy volume, bounce to $48, retest in early December that printed a low at $42.20 — close enough. I bought 600 shares at $43.10 against the second low, before the neckline at $48 had broken. Stop at $41.80. Risk: about $780.
Three sessions later the stock closed at $41.50. Stopped me out for a $780 loss. The next week it printed $39, then $37. The W I thought I was buying was the second leg of a continuation that just happened to look like a base on a daily chart.
The setup was right; the entry was wrong. I bought the second low, not the breakout. Saved myself $0.80 of slippage and paid for it with a full stop-out on a position that, had I waited for the close above $48, never would have triggered. Cheaper to wait. It always is.
The Double Top — Same Logic, Flipped
The double top is the bearish version. Same geometry, opposite sign. Stock rallies to a high, pulls back, rallies to roughly the same high, fails. Pattern completes on a close below the neckline — which is now the pullback low between the two highs — on rising volume.
Double tops tend to be a touch less reliable than double bottoms in equities, because uptrends in good names usually grind higher on shrinking volume rather than topping with a clean retest. They still trade. The execution is the mirror: short on the breakdown, stop above the second top, target measured down from the neckline by the height of the pattern.
Mistakes That Cost People
Buying the second bottom before the neckline breaks. The most common mistake, and the one I just confessed to. You see two lows that look the same, decide the pattern is “forming,” front-run the breakout. About a third of the time the second low fails and price keeps going. You took the worst possible entry on a setup that had a perfectly good entry waiting a few candles later.
Ignoring the time the pattern takes to build. A double bottom that forms over several weeks or months means more participants got involved, more inventory changed hands, and the eventual breakout has weight behind it. A double bottom that forms in three days on a 5-minute chart is a different animal entirely — tradeable, but with smaller targets and tighter stops. Don’t conflate them.
Trading the chart in isolation. A double bottom in a name with deteriorating fundamentals, no earnings, and a falling sector tape is a lower-quality setup than the same chart in a leader during a market correction. The pattern works better when the broader environment cooperates. Like reading the swell before you paddle out — the chart tells you where to line up, but the conditions tell you whether the set is worth taking.
The Short Version
Two lows at roughly the same level. Lower volume on the second. Neckline breakout on heavy volume — at least 50% over the 30-day average. Buy the close above the neckline, stop under the second low, target the projection from the bottoms-to-neckline distance added to the breakout point. Trim into the target, trail the runner. Skip every chart that doesn’t hit all those boxes. The W is a setup, not a hope. The next one will be along shortly.
See also: Head and Shoulders Pattern · Support and Resistance · Technical Analysis · Understanding Volume